W01 Setup: Install Visual Studio Code
Overview
The purpose of this setup activity is to install Microsoft's Visual Studio Code (VS Code). It is free to install on Mac, Windows, and Linux operating systems. This is the software application that will be used to write and edit code.
Instructions
You may have already installed VS Code in a previous course, such as CSE 110. If you have already installed VS Code, please skip to Step 2 of the instructions below.

Download and Install VS Code
- In your browser, navigate to the Visual Studio Code download page.
- You will be prompted to download VS Code for your operating system.
- Click download and follow the directions to download and install VS Code.
- The default installation settings should work well for this course.
- Open VS Code to verify that it has been correctly installed on your computer.
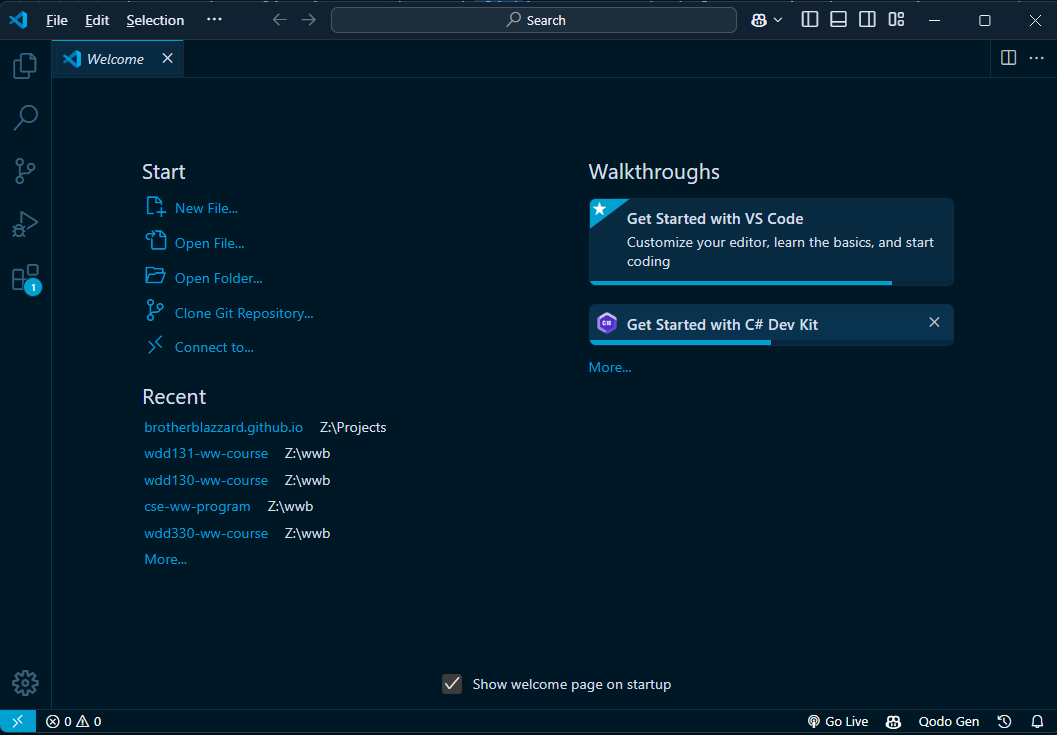
Visual Studio Code Opening Welcome Screen
Install the Live Server Extension
Normally when you visit a website in your browser it is being hosted by a server on the internet. In this class, you will create the web pages first on your own computer and then later publish it to a hosting server.
In order to test your web pages while you are working on them, you need to have a server program running on your computer that will host the pages for you. The program you will use in this course to host your pages is called, "Live Server (Five Server)" and it is installed as an extension to VS Code.
- In your browser, navigate to the Five Server extension in Extension Marketplace.
- Select Install and follow the prompts carefully to install the extension
within VS Code.
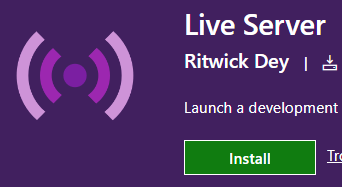
Extension Install Button -
If you would like, you can always see and manage the extensions that are currently enabled in VS Code by using the Extensions View. The Extensions View icon is found in the Activity Bar.
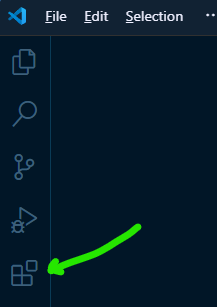
Extension View Icon in the VS Code Activity Bar You may need to close and restart VS Code in order to start using the extension.
- Any file with an
.htmlextension can be opened using Live Server (Five Server) from within VS Code. To view the page, right-click the html file and select "Open with Live/Five Server". This will launch your default browser show the page as if it were hosted on a web server.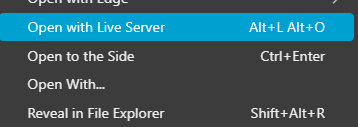
After right mouse clicking on an HTML file in the VS Code explorer, this menu option appears.