
W04 Learning Activity: CSS Flexbox
Overview
Responsive webpages are pages that automatically adjust their layout, content, and design elements to provide an optimal viewing experience across different screen sizes and devices, from desktop computers to tablets to mobile phones.
Flexbox is a one-dimensional layout method for arranging items in a single row or column. It is turned on with the display: flex declaration and makes responsive layouts easy to create and control. Items flex to fill additional space and shrink to fit into smaller spaces.
Grid layouts, which will be discussed in another activity, are also used for creating responsive webpages. Flexbox layout is most appropriate for the components of a page, and small-scale layouts, while the Grid layout is intended for larger scale layouts.
Prepare
A flex container lays out its direct children, called flex items, in a row or a column. The items work together to fill the available space, which makes tasks like centering content vertically much easier.
Watch the following video for an introduction to Flexbox:
▶️ CSS Flexbox Basics (3:01 minutes)
Key Concepts
- Flex containers and flex items: The container is the parent and has the
display: flex;declaration. The items are the direct children of the container and can be manipulated using various flex properties. - Flex direction: The
flex-directionproperty defines the direction in which the flex items are placed in the flex container. It can be set torow,row-reverse,column, orcolumn-reverse. - Justify content: The
justify-contentproperty aligns the flex items along the main axis (horizontally in a row, vertically in a column). It can be set to values likeflex-start,flex-end,center,space-between,space-around, orspace-evenly. - Align items: The
align-itemsproperty aligns the flex items along the cross axis (vertically in a row, horizontally in a column). It can be set to values likeflex-start,flex-end,center,baseline, orstretch. - Flex wrap: The
flex-wrapproperty controls whether items stay on one line or wrap onto additional lines when they run out of room. It can be set tonowrap(the default) orwrap. - Gap: The
gapproperty sets the space between flex items.
The following example shows how these could be applied to a container to arrange its children in a horizontal row, centered horizontally and vertically.
.flex-container {
  display: flex;
  flex-direction: row;
  justify-content: center;
  align-items: center;
}
View and experiment with a flexbox layout yourself. Open your course repository in VS Code, and browse to the week04 folder. Then open, review, and experiment with flexbox-layout.html and, in the styles subfolder, flexbox.css. Try different values and observe the results.
Watch the following video to learn how to use Flexbox to create a menu:
▶️ Using CSS Flexbox on a Menu (1:33 minutes)
View and experiment with a flex menu yourself. In the week04 folder, open flexbox-menu.html and, in the styles subfolder, flexbox-menu.css. Change the values in these files and observe the changes in the page.
Activity Instructions
- Complete the following online tutorial on CSS Flexbox (24 levels): Flexbox Froggy
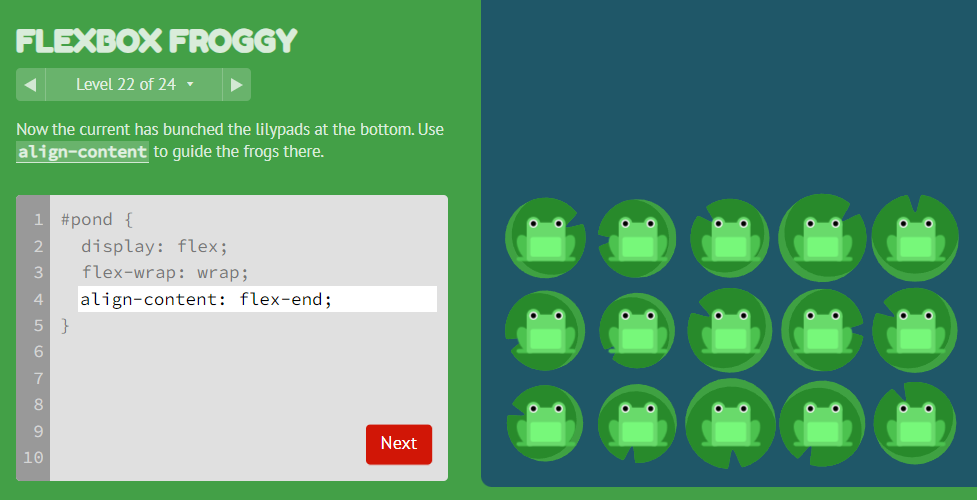
Screenshot of Flexbox Froggy Level 22
Optional Resources
- Flexbox – MDN