
Render.com Account
Introduction
From this point forward, we will maintain a more professional workflow in our couse. This means that we will develop and test locally and push our finished work to a remote production environment - Render.com. In order to get started, you mush have an account.
Create your Account
- Navigate in a browser tab to Render.com.
- Click the "Get Started" button in the top-right corner.
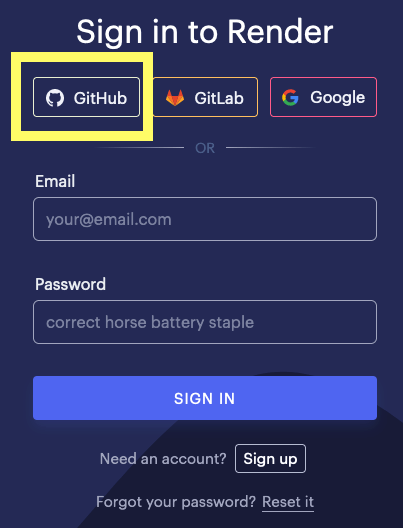
- Click the "GitHub" button. - By using the OAuth option (login method) and tying the Render.com and GitHub accounts together, it will make our workflow easier in the long run.
- You should be shown a screen asking you to authorize and login to your GitHub account. By positively answering the prompts and logging in to your GitHub account, the two accounts will be authorized to work together.
The Dashboard
When done, you should land at your Dashboard. It should be empty. Accross the top you should see various options as shown in the image below:

The Docs, Community and Help options may be useful in the future.
Conclusion
With the account created, you're ready to create your first service - a PostgreSQL database. Let's do that in the next activity.