
Render App Server
Introduction
When building a web application, there are typically two or three servers involved: development, testing and production. The development server is the one on your computer (localhost), where you write and test your code. The testing server is where you deploy your code to test it in a production-like environment. The production server is where your application is deployed for the world to use.
In our situation, we will only have two: development and production. We will trust ourselves to thoroughly test in both environments. You have already set up the local development environment. Now, it is time to set up the production server.
We will use Render.com to host our application. Render.com is a cloud service that provides a free-tier for students. The free-tier is limited, but it is enough to host our application for the class. The free-tier is limited, so it will be important to monitor your dashboard metrics closely to ensure that your application and interactions stay within the available limits.
Video Demonstration
The video provides a general overview of the activity, but does not contain the detail needed to complete each process. Watch the video to obtain a general idea, but follow the written steps to complete the activity. This is the Transcript of the video.
Create the Server
- In a browser go to Render.com and sign-in using your GitHub credentials.
- In the dashboard, click the "New" button in the top-right corner.
- From the option list, select "Web Service".
- On the next screen, select your GitHub repository for the class, by clicking the "Connect" button on the same line as the repository name.
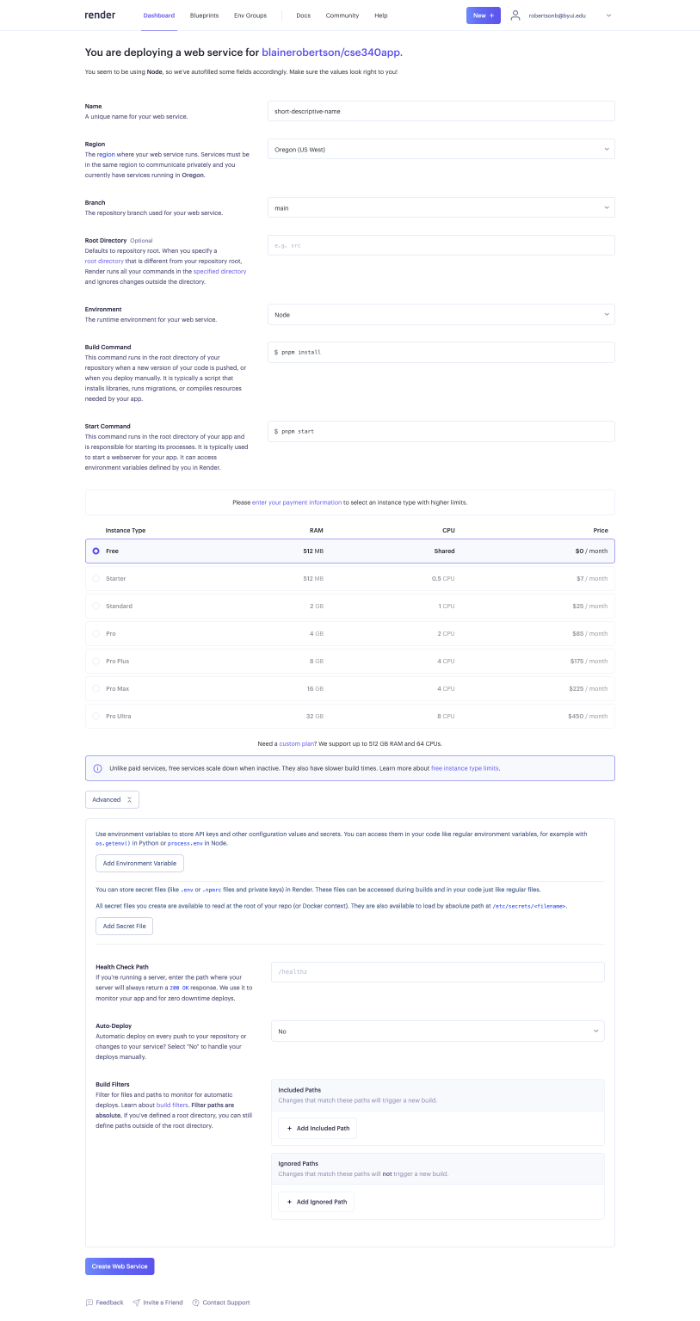
- In the next screen add a unique name for the service - this is a label that will help you to distinguish this service from others. Keep it short and simple, but descriptive.
- Select the region closest to you. This is where the service will be created. IMPORTANT! Make sure this region matches the region you selected when creating the database service, otherwise your site may fail to connect to your database.
- The branch should be "main". Leave it.
- Leave the "Root Directory" text box empty.
- Change the "Environment" to "Node".
- Change the "Build Command" to "pnpm install".
- Change the "Start Command" as "pnpm start".
- Leave the "Instance Type" as "Free".
- Click the "Advanced" button to display additional settings.
- Change the "Auto-Deploy" setting to "No". If left at "Yes", everytime you sync your local code to GitHub, the application will rebuild, which we don't want to do.
- Scroll to the bottom of the page and click the "Create Web Service" button.
-
Here is an illustration of the settings discussed:
- The screen will change and will show that the service is being built. This can take a few minutes - watch for the "active" message.
- Click the "Events" item on the left.
- You should see a list of processes. The first one should read "First deploy started..." and have the date and time listed.
- When the service is active you will see a new event listed at the top of the event list (the newest events are listed first), which should say "Deploy live for ..." and the date and time. If it says "Live", it means that the creation worked and your repository code is deployed to render.com.
Connect the Database Service
With the application created, the database server needs to be connected to it. Let's get this done next, if it is not already done.
- Right-click the render "Dashboard" item at the top of the screen. Select "Open in New Tab".
- In the new tab, click to open the Database server.
- Scroll down to the "Connections" information.
- Click the Internal Database URL "Copy to clipboard" button.
- Switch back to the application server tab.
- Click the "Environment" item on the left side of the screen.
-
Click the "Add Environment Variable" button.

- Click in the "Value" text box and paste the copied URL.
-
Click in the "Key" text box and type "
DATABASE_URL". This name should be the same as exists in the .env file within VSC. But, the URL will be different, as the application server will use the internal address, not an external address. - Click the "Save Changes" button.
Add an Environment Variable
As long as you're here, let's add an environment variable that will help our application to distinguish between our computer, where we develop, and the server, which is our production environment.
- Click the "Add Environment Variable" button.
- In the "Key" input, type NODE_ENV.
- In the "Value" input, type production.
- Click the "Save Changes" button.
Add a Second Environment Variable
The render.com web service developed a glitch in the Fall of 2023, which defaulted to an old version of Node for some reason. To fix the glitch we can indicate what version we want our service to run, by adding it as an environment variable. That is what you will do now.
Check your version of Node
- Launch VS Code on your computer
- Open the built-in terminal
- Type "node --version", press Enter
- A line will appear showing your version number (e.g. v18.18.0)
- Copy just the numeric portion (e.g. 18.18.0)
Add an Environment Variable
- Login to your render.com dashboard.
- Open your web service (Not the database service).
- Click on the "Environment" option link on the left.
- Click the "Add Environment Variable" button.
- In the "Key" input, type NODE_VERSION.
- In the "Value" input, type or paste the version number you copied as illustrated below:

- Click the "Save Changes" button.
Check it out
With the service created, your code deployed, and the database connected, it is time to see if everything is working.
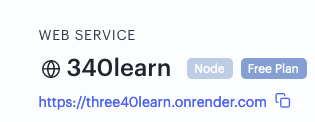
- In the Render.com Dashboard, at the top of the "Events" window, you should see the name you gave to your service. Beneath the name is a link to your application.
- Click the link. A new tab should open. If everything is working, you should see the application home page.
If everything worked, fist bump the nearest person you can find! Well done.
If things did not work, then consult your learning team, the TA or the professor. But get help to make sure things work!
Tracking Use
As is, the application server is "active" and connected to the database server. The actual usage is very small. However, it is very important to keep track of your use. To do this is pretty easy and is the same for both services.
- If you are at the Dashboard, click one of the services.
- Once within one of the services, click the "Metrics" option, on the left.
- Review the use totals. Make sure they are within the stated limits.
- If, for whatever reason, you exceed the limits the service will stop, and you will be notified that you have exceeded the limit. The option is to take steps to remove materials if you have exceeded a storage limit, reduce use if an access or bandwidth limit, or move to a paid plan.
Conclusion
With the service in place and our application deployed, we need to understand how to add to what we've got - deploy updates. We will look at that in the next activity.