Tutorial: Creating Test Cases and Plans
Overview
The Squash test tool allows us to create test cases and link them to the requirements and organize them in a folder structure. From these test cases, we can create test plans which allow us to test logical components or parts of the system. We will discuss test case executions in another page.
Test Cases
- As with the requirements, you will want to start by organizing your test cases into folders. Click on the Test cases link in the navigation bar.
- Click on the
 icon and select Add a folder to
create a new folder.
icon and select Add a folder to
create a new folder.

Add folder - Type your new folder name in the Name box. Add a description if you wish. You will want to
create folders for Common, Home, and Join.
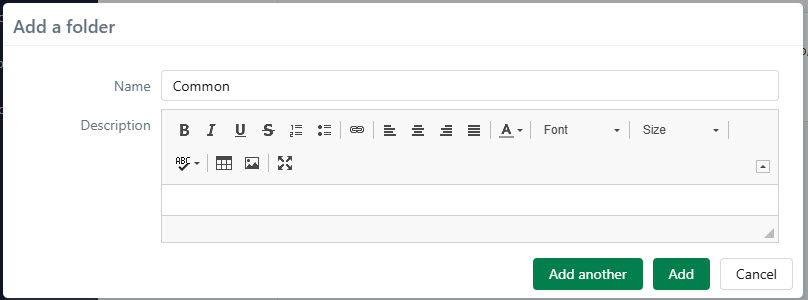
Add folder dialog - Click the Add or Add another (if you wish to keep adding folders) button to add your folder.
Adding test cases
Now you have an organizational structure created, you can add test cases. For this example you will use the 1.1.1 user acceptance criteria from the Teton Chamber of Commerce requirements document. It looks like this
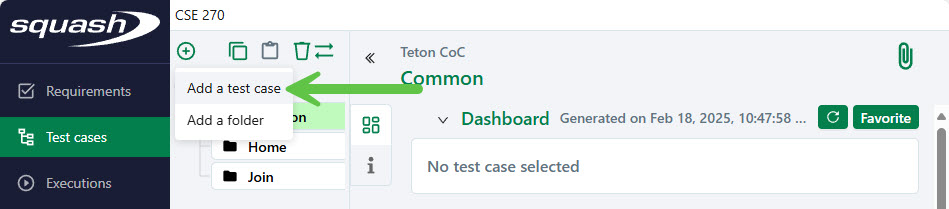
- To create a test case, from the test cases screen, select the folder where you want the test case to reside
(Common in our example case), then click the Add a test case icon.
Add test case - Enter the test case information from the requirements document.
- Format: Classic (leave default)
- Name: Enter a name that appropriately reflects the test case make sure you have the test case number at the start of the name. E.g. the first test case name might be 1.1.1 Name and Logo Visible.
- Reference: Leave blank.
- Description: Copy the test case acceptance criteria from the revised requirements document.
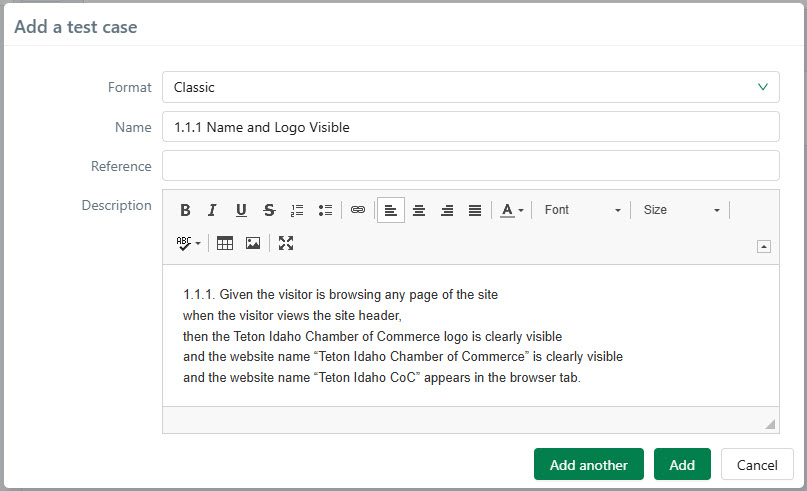
Add test case - Click the Add or Add another to add your test case.
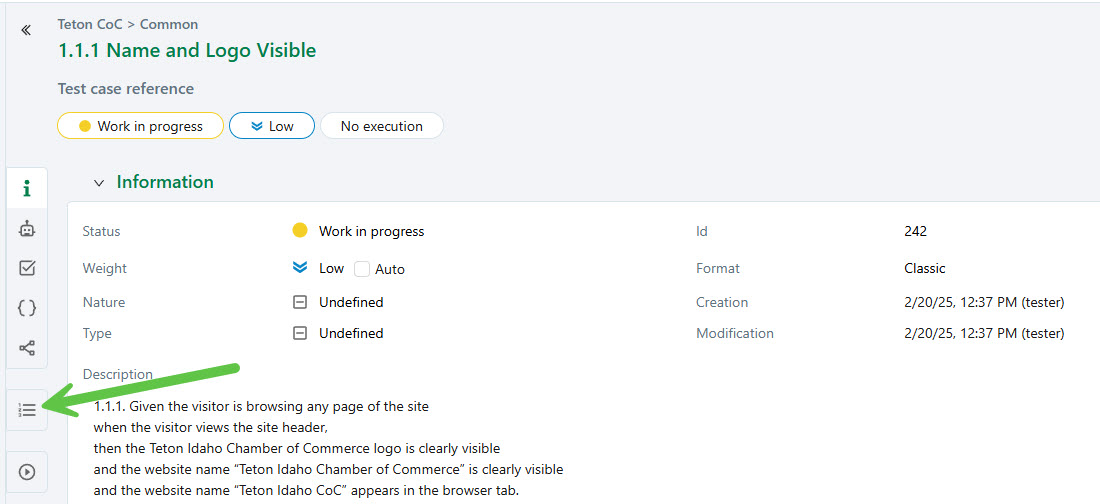
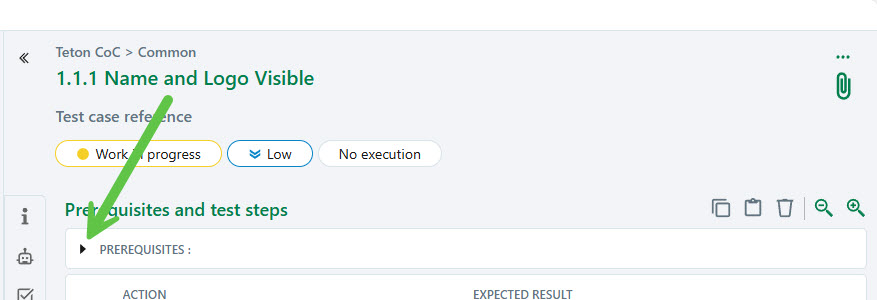
- Now you ned to add the specific test steps to this test case. Click the
 Prerequisites and test steps icon to
show the test steps.
Prerequisites and test steps icon to
show the test steps.
Show test steps - Expand the PREREQUISITES section.
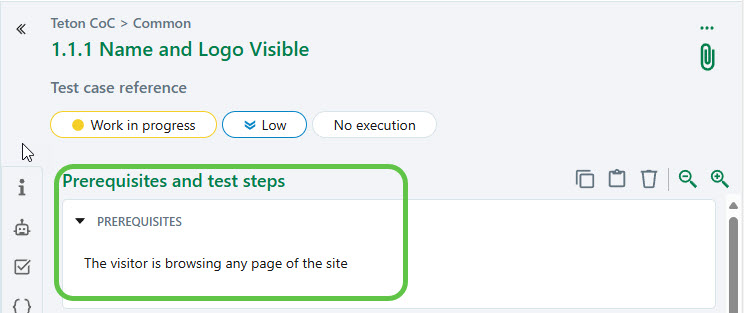
Expand prerequisites - The test must contain all the acceptance criteria, as described in the Teton Chamber of Commerce requirements
document. The criteria are express in the given , when, then, format. The given portion of the criteria should
be entered into the PREREQUISITES area. Enter the Prerequisite for our first test case, in the
PREREQUISITES area enter The visitor is browsing any page of the site
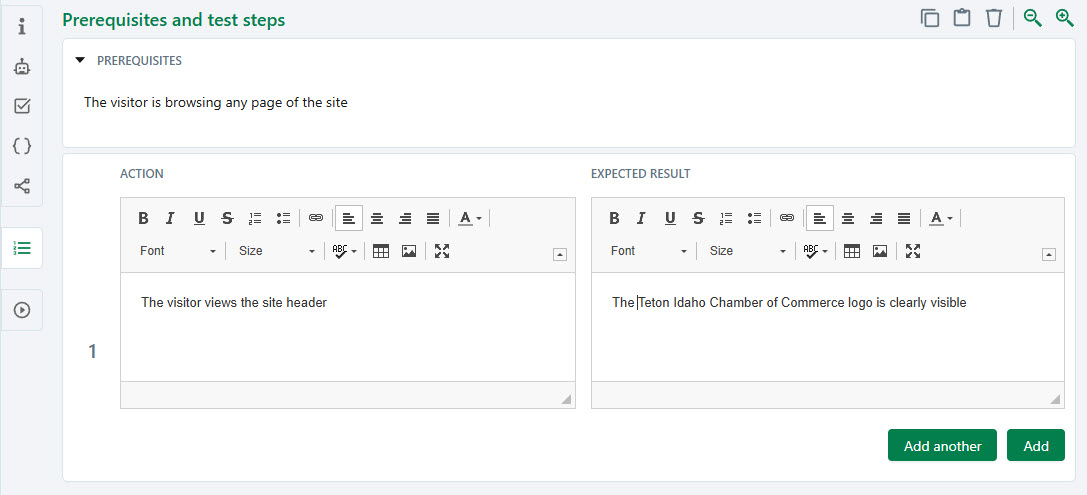
PREREQUISITES - The when portion of the criteria is added to the ACTION area, the then
expected results are added to the EXPECTED RESULT area. If the then portion of the criteria has
more than one result, indicated by and, each result should be added as an independent step. Add
The Teton Idaho Chamber of Commerce logo is clearly visible to the EXPECTED
RESULT area. Your step should look like this:
Step 1 complete - Click the Add another button since you need to add two more steps.
- Add additional steps for each remaining expected result. If no further action needs to be done you can either
just duplicate the Action from the step above, leave it blank or enter N/A. It is kind of up to you how you
document the specifics. Add the remaining results. When you are done it should look similar to this:

All steps added
Linking Test Cases to Requirements
After you have created a test case you need to link the test case to the requirement it tests. You will do this for each test case. Conceptually this is easy. How to accomplish this in Squash is not obvious, but it is easy once you see how it is done. Follow these instructions to link a test case to a requirement.
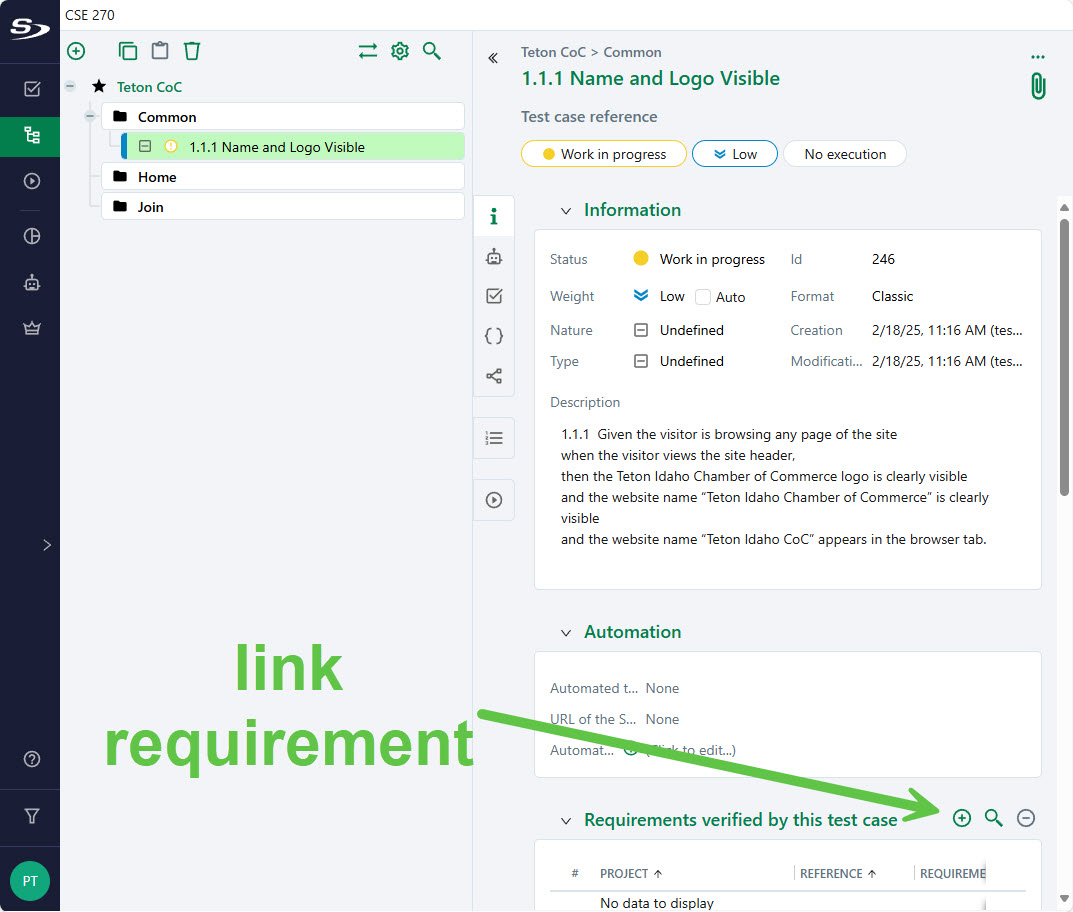
- Select the test you want to link to a requirement from your list of test cases. This will show the details of the test case.
- Part way down the list of details you will see Requirements verified by this test case. It
will not have any requirements lists. To link a requirement click on the icon.
Test details - You should see the Requirements repository. Expand the requirements tree to see the area of
interest.

Requirements repository - This is where it gets a bit tricky. Drag and drop the requirement you wish to link to the test case from the
Requirements repository to the list of Requirements verified by this test case
list. You should see the requirement appear in the list.
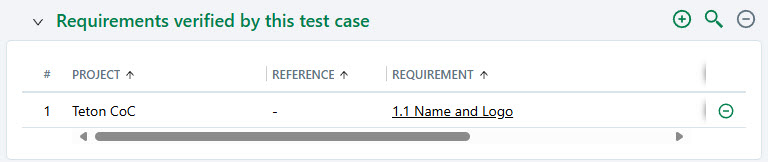
Requirements verified by this test case Tip: You can also link test cases to requirements using the requirements details. - Some requirements will have multiple test cases. Make sure you enter each test case in the requirements as a separate test case in Squash.
Creating Test Plans
After you have entered all your test cases you will need to make a test plan. Squash calls this a campaign.
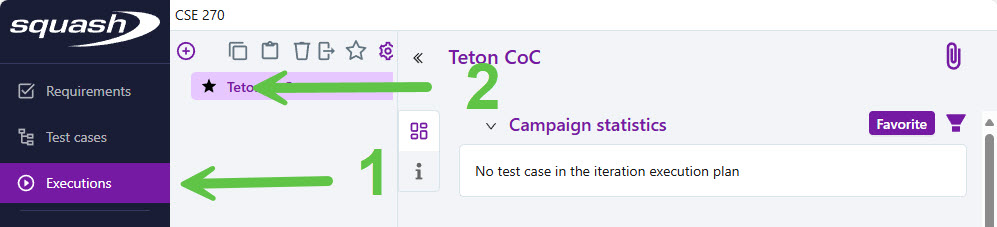
- To create a test plan (campaign) select the Executions link on the left navigation bar.
- Select the Teton CoC project.
Executions - Click the icon.
- Select Add campaign from the menu.

Add campaign - Enter the campaign information.
- Name: Enter a meaningful name for the test plan.
- Reference: (leave blank)
- Description: Add a description if you would like.
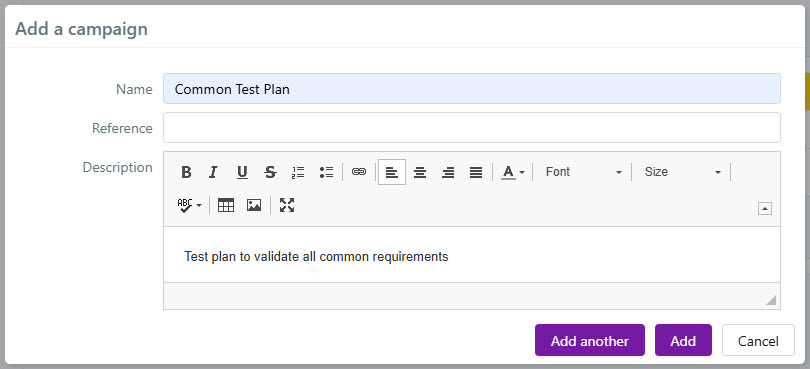
Add campaign dialog - Click the Add or Add another (if you wish to keep adding test plans) button to add your campaign.
- To link the test cases to your test plan select the Execution plan icon
 to show the test cases associated
with this plan. If the list is empty follow the next steps..
to show the test cases associated
with this plan. If the list is empty follow the next steps..
Test plan execution list - Click on the icon above the Execution plan list to add test
cases. Expand the Test case repository to show the test cases you will add.
- Drag and drop the appropriate test case(s) to the Execution plan list.
Tip: You can select multiple test cases to drag and drop by using ctrl or shift keys when making your selection.
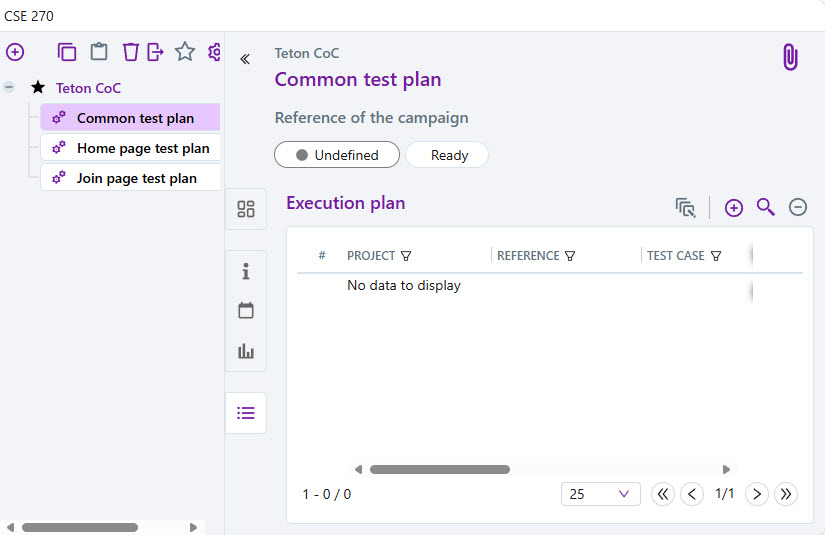
- The completed test plan will look similar to this:
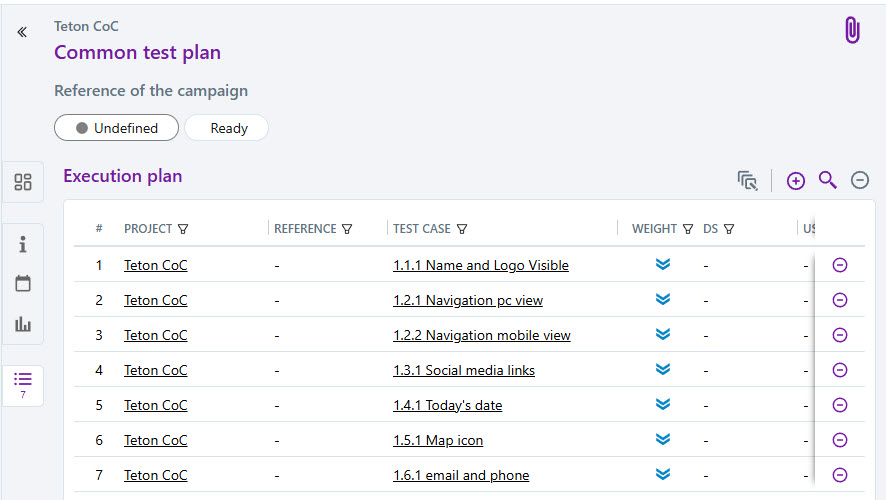
Completed test plan
Useful Links:
- Return to: Week Overview | Course Home | Canvas
You are now ready to start testing!