Tutorial: Adding Requirements
Overview
Squash allows us to create requirements in folders to help with project organization. Each functional area of our project will have its own folder to help organize the requirements. This tutorial shows how to create requirements. Future tutorials will show how to add test cases and test executions to test the requirements we have created.
Organize your Requirements
The first task is to create folders for the functional requirement to reside in.
- Start your Squash container if it is not already running.
- Login as the test user with the password testit.
- Click on the Requirements link in the navigation bar on the left.
Squash Requirements - You should see the requirements for the Teton CoC project. If you don't see the Dashboard click on the Teton CoC project
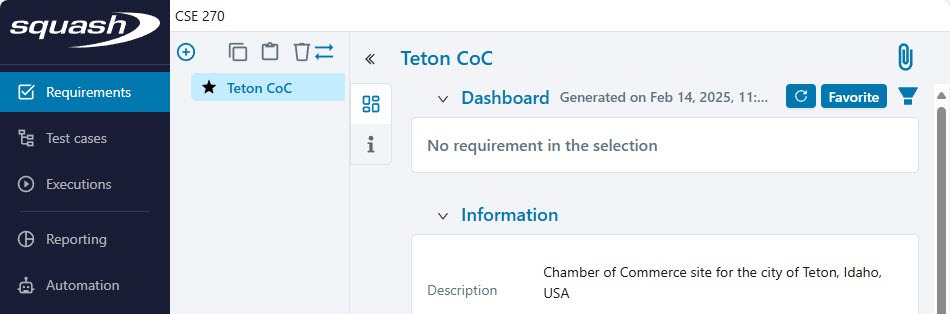
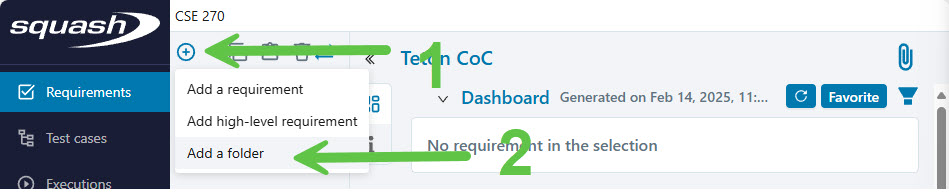
Teton CoC Requirements - If this is the first time reading this tutorial there will not be any folders for your project. The first thing you need to do is create a folder for your requirements. To create a folder Click on the
 link then click on Add a folder.
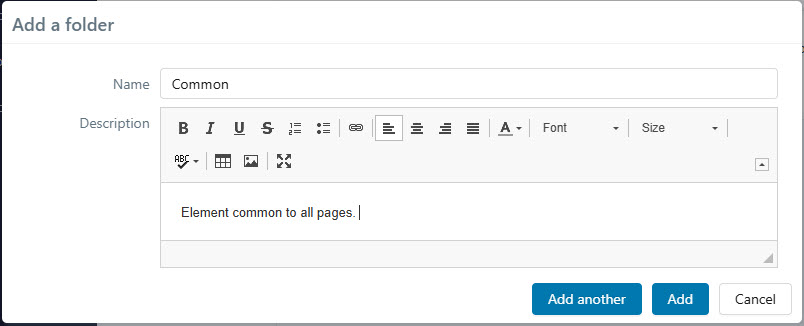
Add a folder - Enter the folder name in the Name box, you may also add a description. For example for our first functional requirement area you would enter Common in the name box, and in the description box enter something like "Elements common to all pages". Then click the Add button.
It is a common design in Squash to have buttons that are labeled Add and Add Another. The Add button will add the item and close the add dialog box. The Add another button will add the item then reset the add dialog to add an additional item.
Add folder dialog
Requirements
Before creating requirements, make sure you set up the folder structure for storing requirements. In this class, we will create a folder for each Functional Requirements section of the requirements document. Make sure the folder you wish to store your requirement is created prior to creating the requirement following the tutorial above. If you forget, no harm, just add the missing folder, then drag the requirement to the correct folder.
- Select the Requirements link from the left navigation bar.
- Select the folder you would like the requirement to reside in.
- Click on the button then click on Add a Requirement
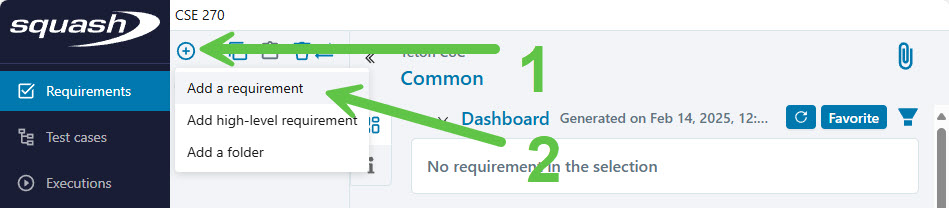
Add requirement menu - Use the Add a requirement dialog to add your first requirement. From the requirements document our first functional requirement is.
1 Common Website Requirements
1.1 As a website visitor, I want to see clearly the name and logo on all pages so that I know I am visiting the Teton Chamber of Commerce website.
For our first requirement you could enter the following information for the requirement.
- Name: Read through the requirement and come up with short (maybe 1 to 3 word) name for the requirement. Enter that as the Name (for our class include the requirement number as well).
- Reference: Leave blank for our class.
- Criticality: Undefined
- Category: Choose Functional since we will not be working with non-functional requirements in this course.
- Description: Enter the full description from the requirements document
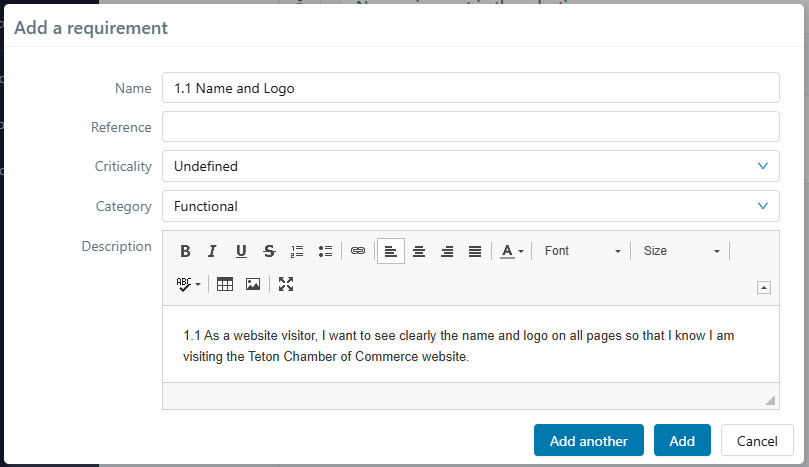
Add requirement dialog. - Click the Add button when done.
- Congratulations you have created your first requirement!
Useful Links:
- Return to: Week Overview | Course Home | Canvas