W01 Activity: Setting up Jira and Requirements and Test Management (RTM)
Overview
For the next several weeks you will use Jira and RTM to document and conduct your testing. These are real world tools that are used in the industry to document test plans, test cases and test executions.
Each student will set up the Jira environment. Once the environment is set up, you will add your instructor as a team member.
Follow the step-by-step instructions below to set up Jira.
Setup Jira
- Navigate to https://www.atlassian.com/try/cloud/signup?bundle=jira-software&edition=free
-
Enter your school e-mail in the "Work E-mail" box and click Sign up
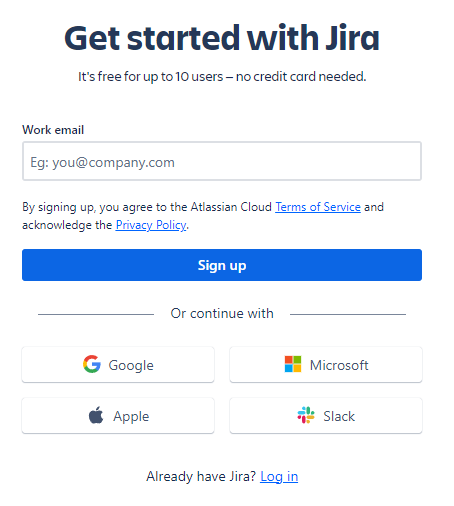
Jira Account Setup -
You should now see the following code verification page
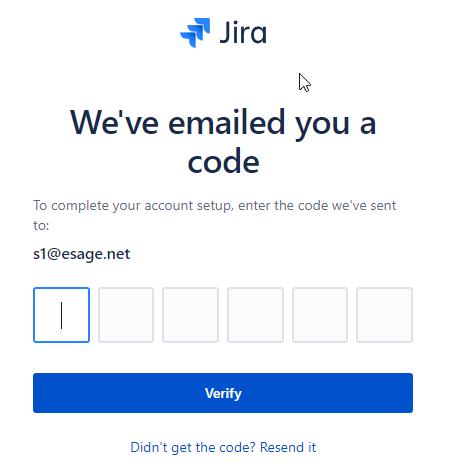
Signup code Verification Page Check your email for a message from Atlassian, if you don't see it after a few minutes, check your junk mail folder. The message will looks something like this:
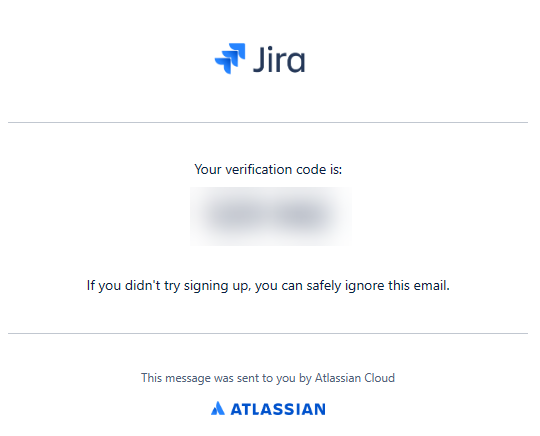
Code email example Enter the code sent to you in the email into the code verification page.
-
Enter your full name and create a password for your account. Then click Continue
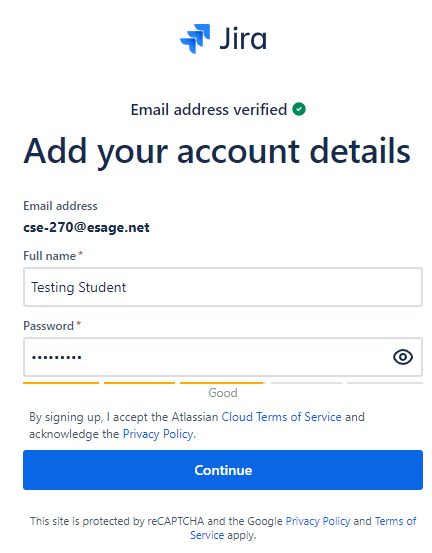
Set your account details page -
Choose your site name. I recommend your Pathway login name + cse270 like this:
yourloginname-cse270
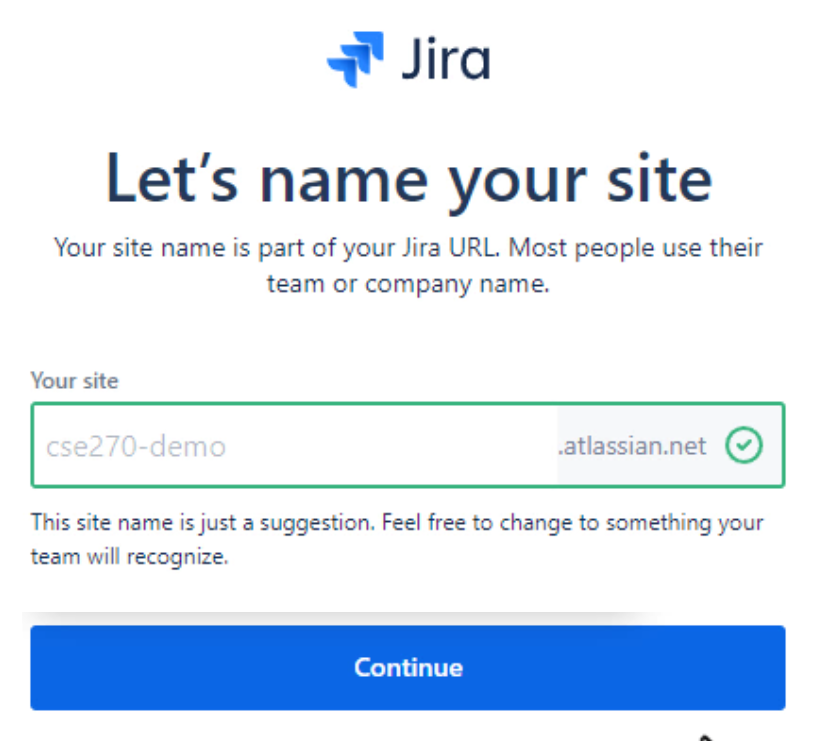
Choose site name. Click Go to Jira
-
Next you will will be asked what kind of work you do. Select Software Development then click the Continue button.
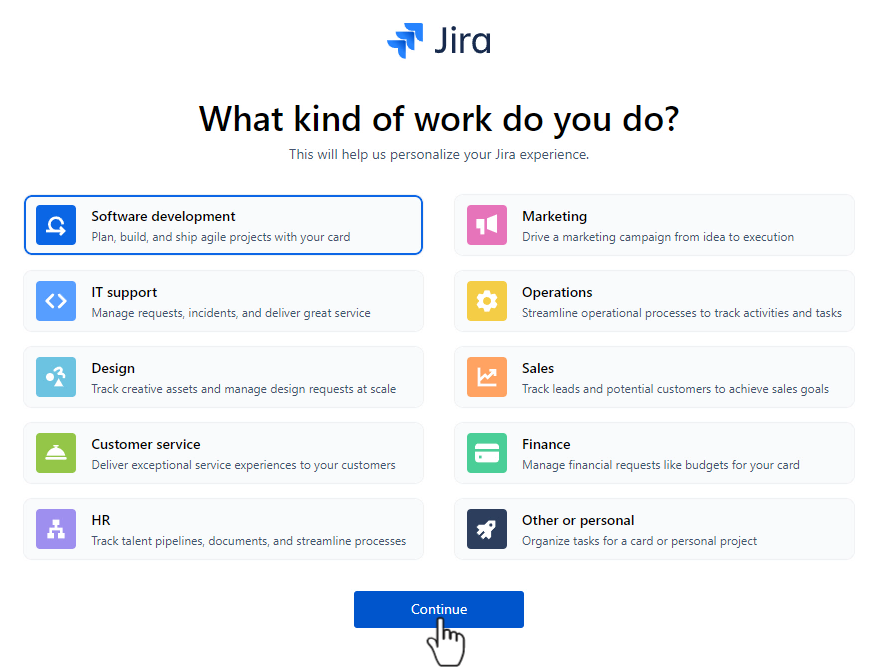
Tell us a bit about yourself. -
Your account will be set up in a few moments. Wait patiently for the software to load.
Once the software is complete you must choose the template. Choose SCRUM and click the Start Now button.
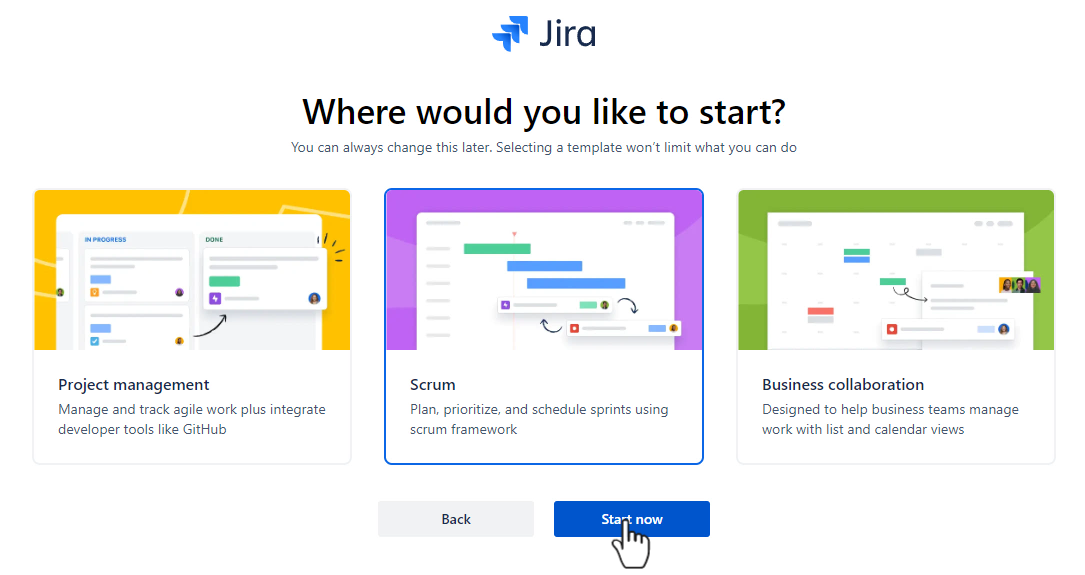
Choose SCRUM template. -
In a few moments you project will be created and you will see a page that asks about your experience with jira. Choose I'm not familiar with Jira and click Start Using Jira.
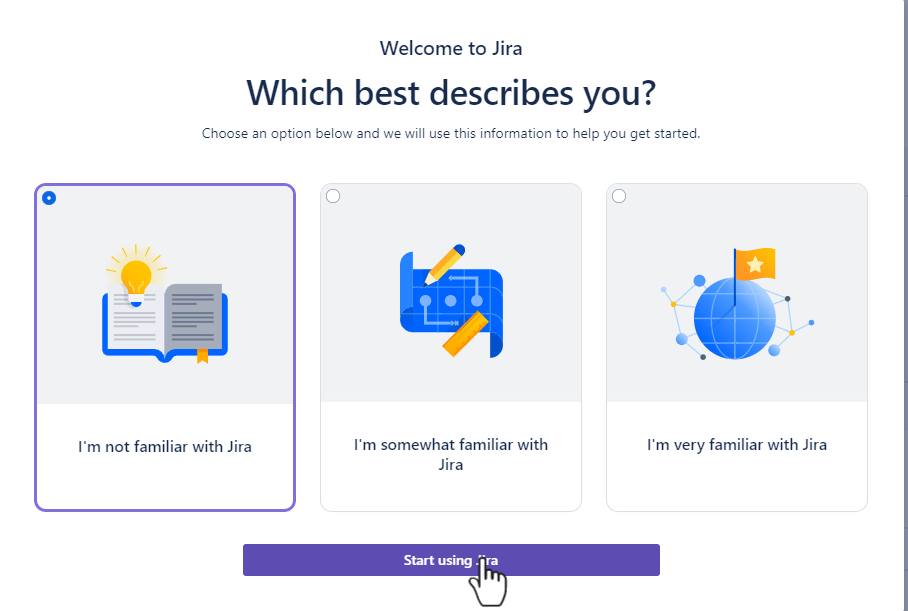
Jira experience level. -
You will be presented with a few tips, read them then click next until you are done.
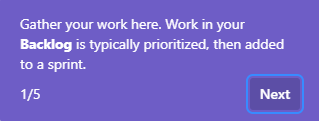
Usage Tips -
Notice the quickstart panel on the right side of your screen. It has tutorials that can help you get started. You can hide the quickstart if you wish.

Congratulations you have setup your first Jira project!
Add RTM to Jira
Requirements and Test Management is an add-on app to Jira that you will use this semester. Complete the following tasks to install RTM
-
Click on the Apps menu item, then Explore more apps.
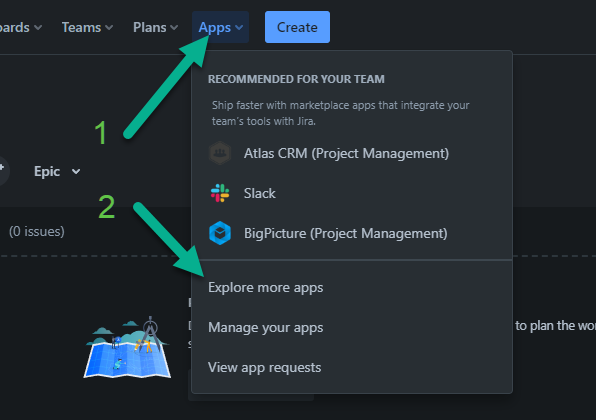
Jira App menu. -
In the search box, type RTM and press ENTER. This will display the Requirements & Test Management for Jira app.

App search page. -
From the list of cards, click on the RTM card
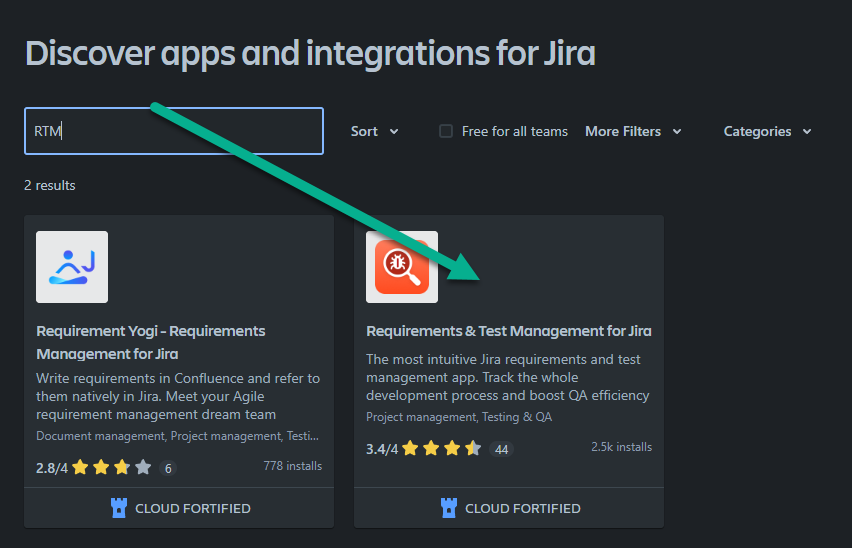
App search results. -
You should see a page that describes RTM, click the Try if free button.

RTM description -
From the Add to Jira popup, select Start free trial
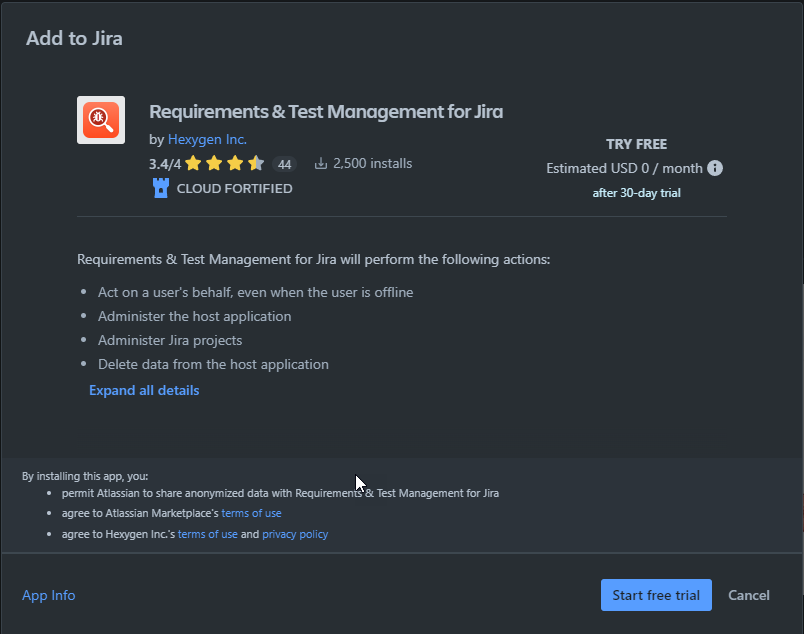
Add to Jira In a couple minutes the RTM app will be added to your project.
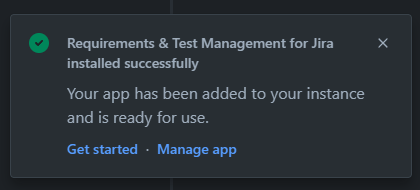
RTM added. Dismiss the confirmation dialog box.
Configure a new project with RTM support
-
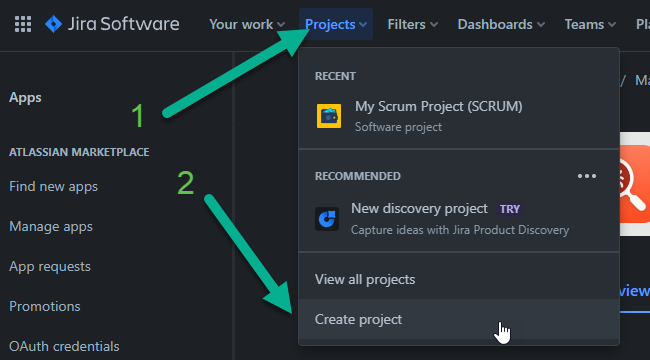
By default, JIRA creates the wrong kind of project for us to use with RTM, so we have to create a new project.
Go to the Projects menu and choose Create Project.
New Project -
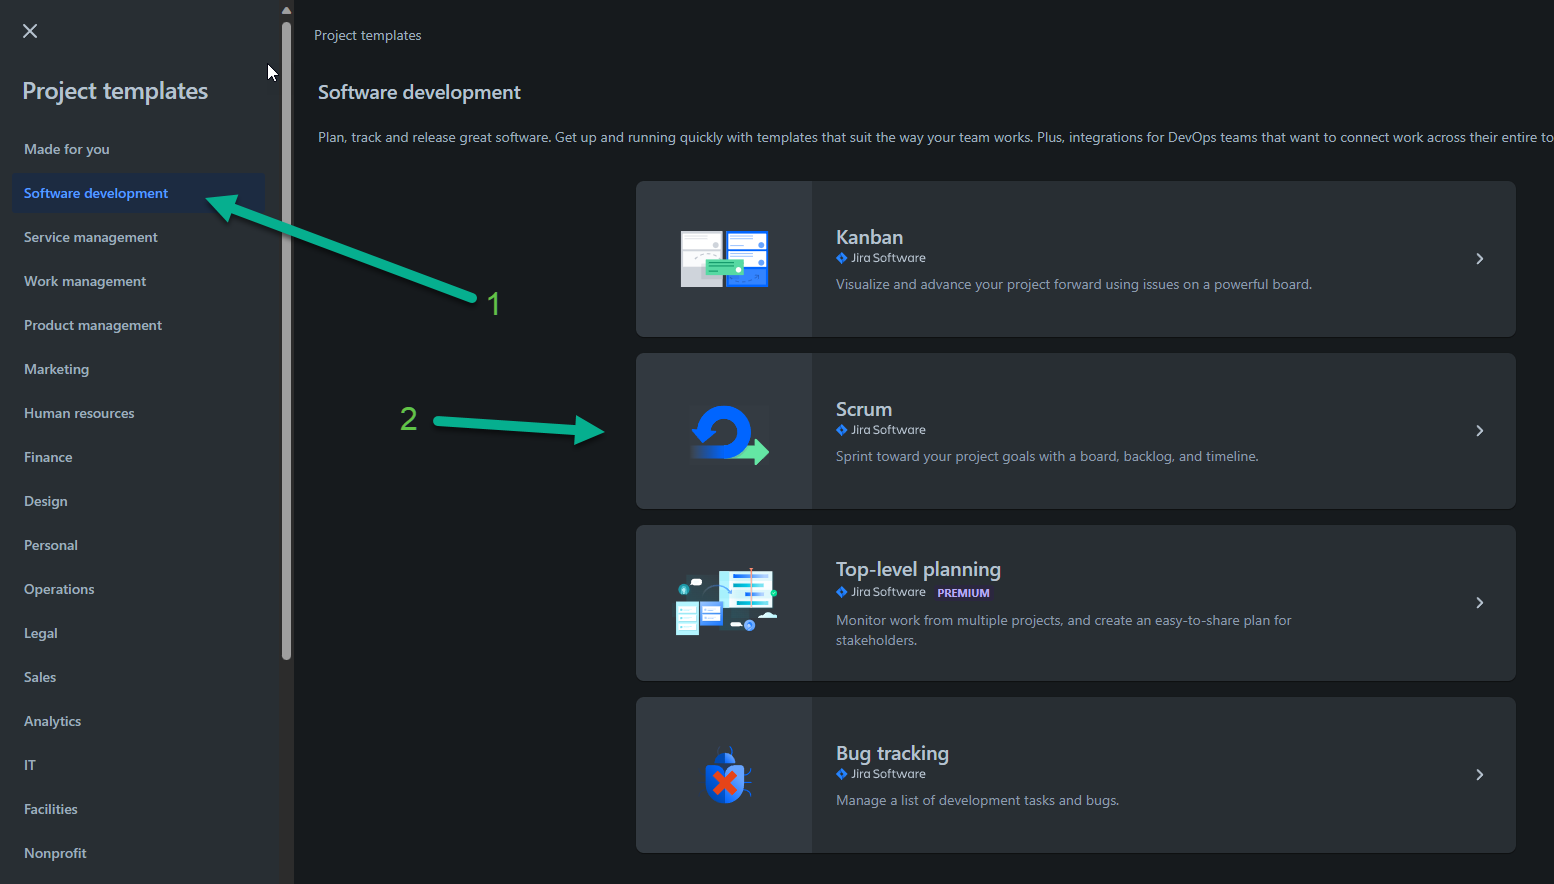
From the Project templates page select Software development. Then select Scrum.
Project Template screen. -
Click on Use template

Use template -
next you need to select a project type. For RTM to work properly you must use a company managed project. Click on Select a company-managed project
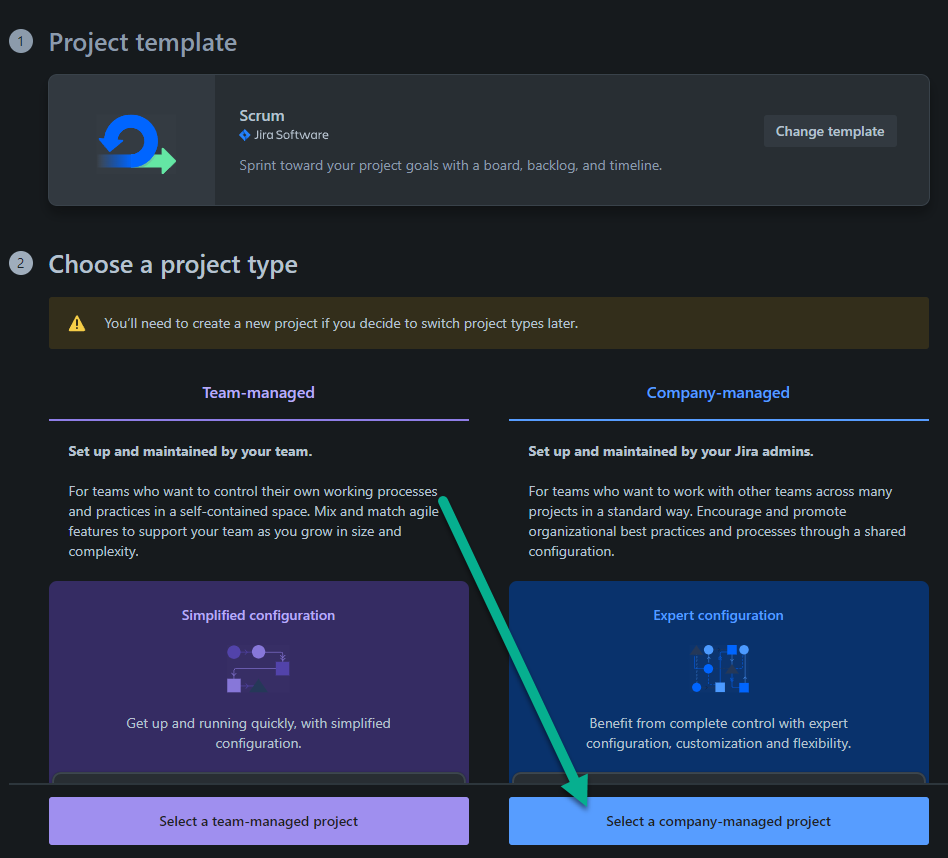
Choose a project type. -
Name the project Chamber use the key CHAM then click Next
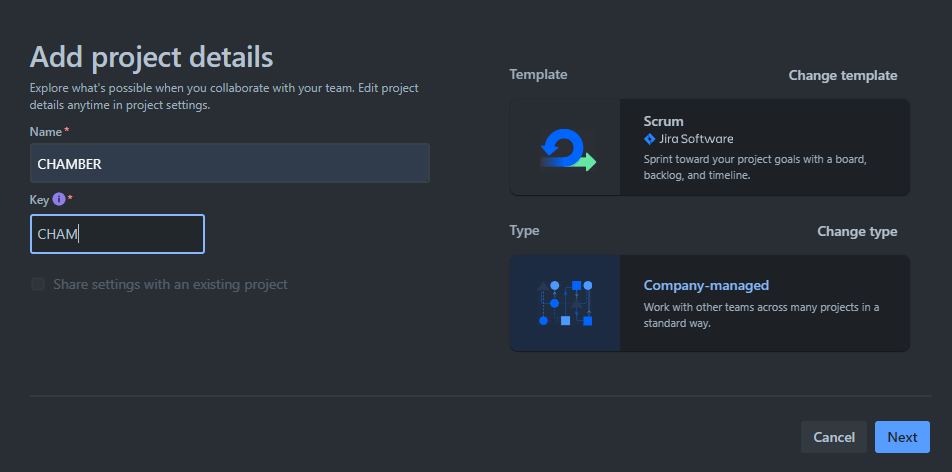
Project details. -
From the menu, choose Apps and RTM (Test Management).

App menu. -
To allow RTM to work in our project, we must click the Enable app in project button.

Enable RTM -
On the next screen you must choose the project where RTM will work. Click the "Choose Project" dropdown box, then choose Chamber as your project to enable. Then click the Configuration button.

-
On the "Map issue types to requirements" screen click + Add automatically. You should see the following screen. Click Next
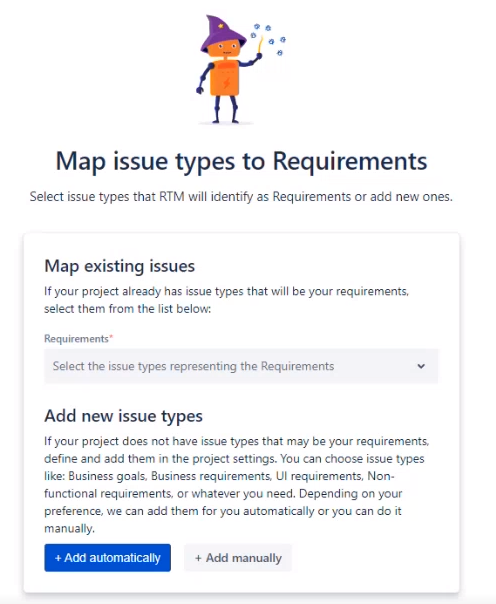
Map issue types to Requirements. You should see the following screen, notice the issue types. Click Next
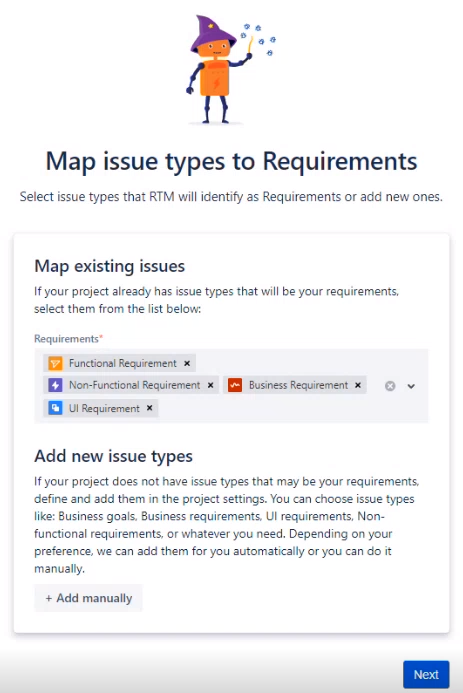
Map issue types to Testing object with new Requirements -
On the "Map issue types to Testing object" screen click + Add automatically, then click Next.
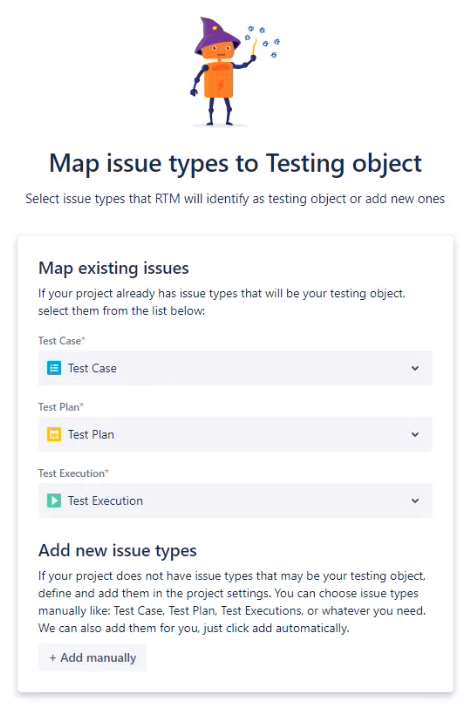
Map issue types to Testing object -
On the "Map issue types to Defects" screen, select Bug in the Issue Types box. Then click Next.
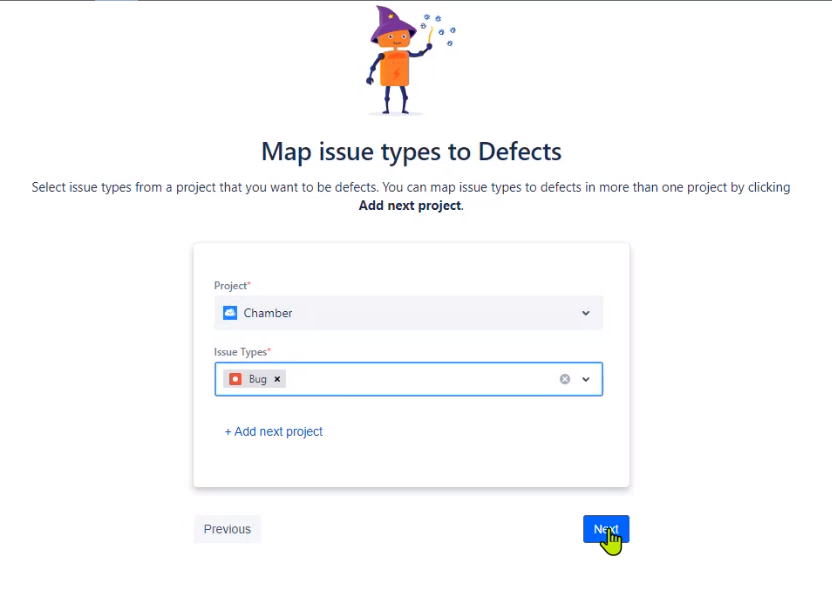
Map issue types to Defects. -
On the "Correctness of fields" screen, in the "Add missing fields to RTM issues screens", click + Add automatically. Then click Check and go next.
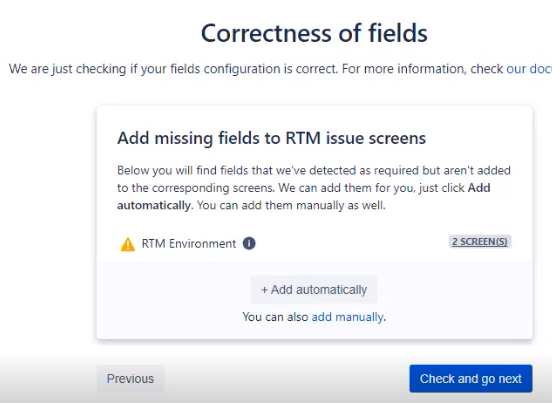
Correctness of fields. -
On the "Confirm and start working" screen, click Enable
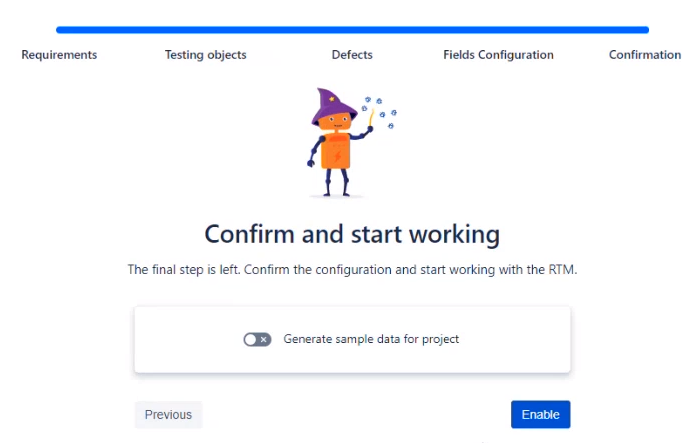
Confirm and start working -
Should should see the Welcome to RTM screen. RTM is now configured for your project.
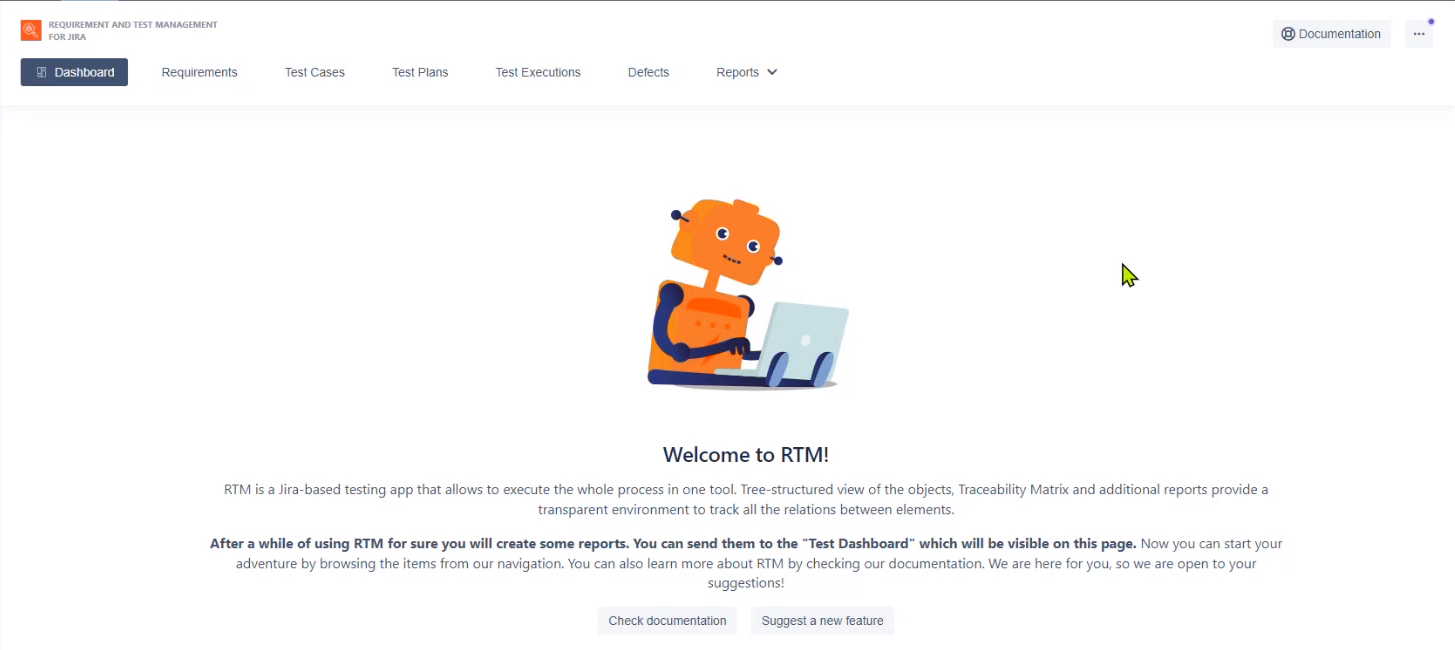
Welcome to RTM.
Setup Jira Team
Even though this is an individual project you will need to create a team so your instructor can have access to your project.
-
Invite your Instructor to Jira. From the Teams menu select + Invite people to Jira.

Invite people. -
Next, add the e-mail address of your instructor in the Names or emails box so they can join Jira and be added to your team.
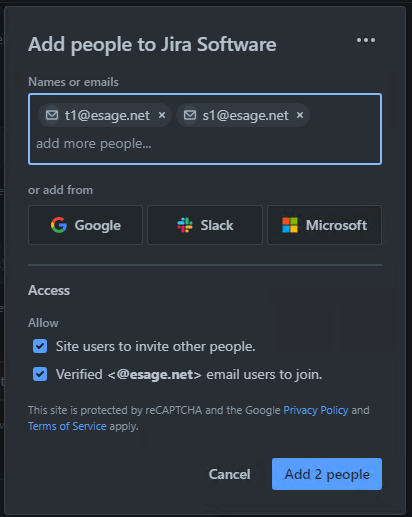
Add people to Jira Software.
We made it! If you got here you are ready to start using Jira and RTM
Submission
When complete report your status in the Canvas Quiz
Useful Links:
- Return to: Week Overview | Course Home | Canvas
